I love looking at before and after photos. Design blogs are full of them. I actually follow one blog Better After that is an aggregate of everyone else’s before and after photos of room designs. You can lose some major time browsing that site!
I don’t do a ton of redesign around here of anything except one thing–photos.
I try to add in at least one photo with each post and as the years have gone by, I’ve slowly learned some techniques. While I’m not nearly a pro I do find the before and after photos fascinating.
While taking ShootFlyShoot’s Photography 101 class seemed to be the key to understanding how to shoot in manual mode, Photography 102 seemed to really be the key to understanding editing. (Don’t worry, this isn’t a sponsored post, although it does include affiliate links).
While I could never do that class justice, I will say learning to shoot in raw and then edit it in Photoshop has made the biggest difference.
I thought I’d show you some before and after photos—of photos—so you could see what a difference editing makes. I also want you to see some “behind the scenes” of some of the pictures around here.
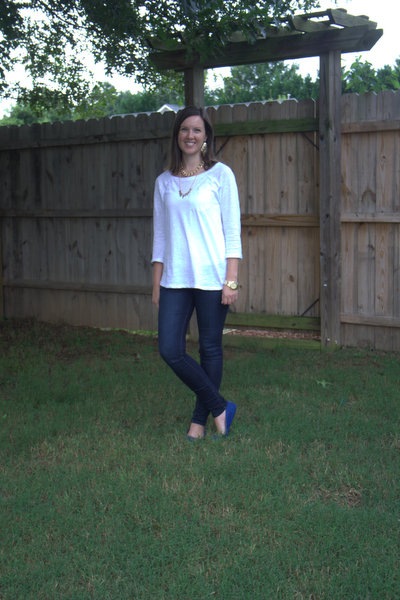
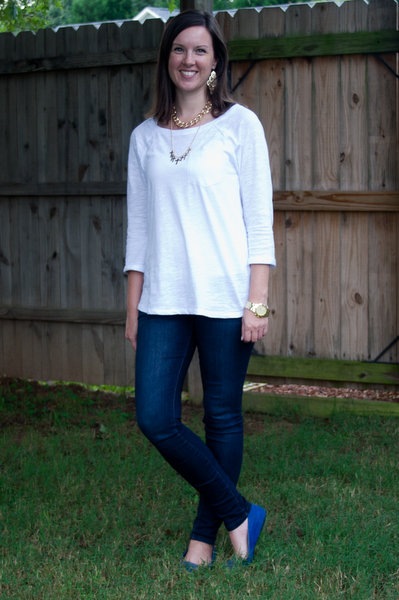
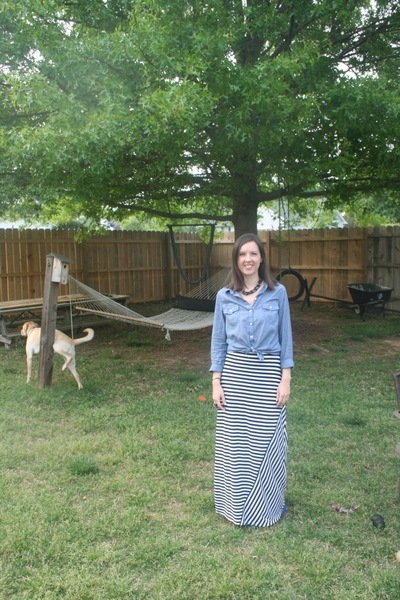
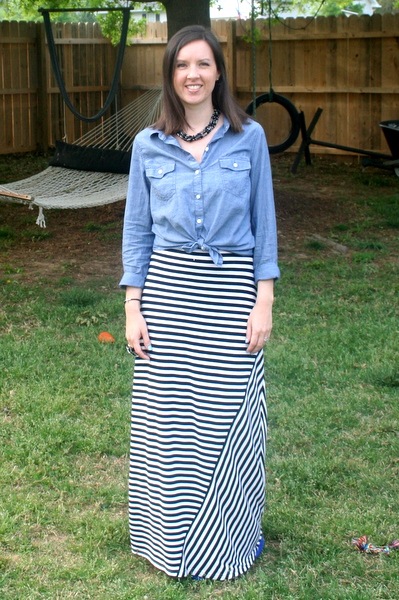
So, for example, here is a before and after of one of my WIWW photos.
Since taking 102, I’ve started taking most of my WIWW posts on a tripod with a timer on manual mode and with RAW output. You can see, I usually get a wide shot so I don’t miss myself.
After I crop it, I usually have to adjust three settings. I ensure the exposure looks right. Then, I make sure the white balance is correct. And finally, kick up the black to make sure the shadows look good. I still don’t have an eagle eye for all this yet but just learning what I even need to look for has been invaluable.
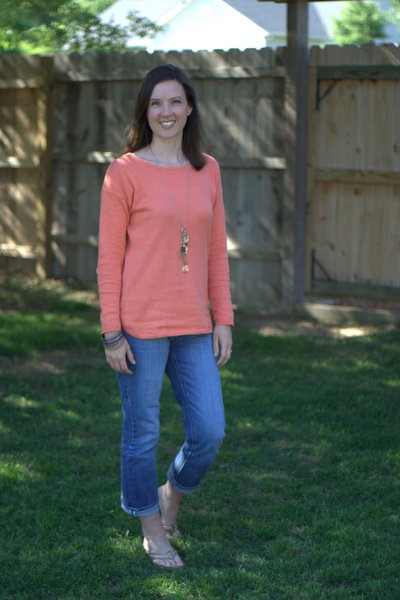
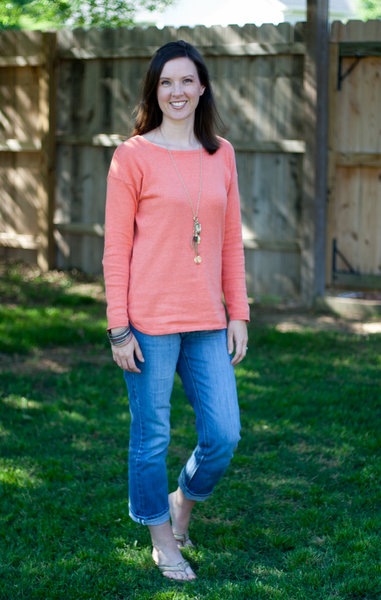
Here’s one more where I think the before is nice, but the after really pops.
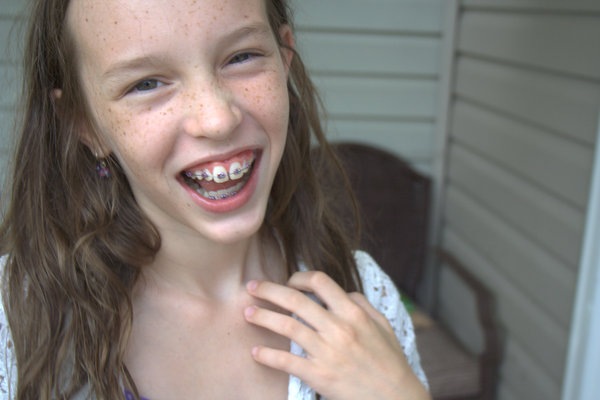
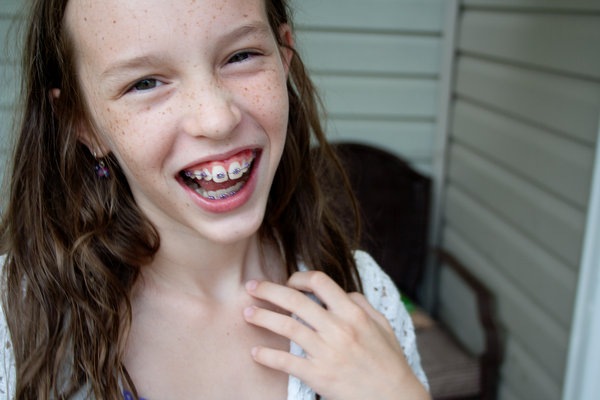
Here’s the same thing I did to a photo of Emma recently:
I love how her skin looks creamy white and her freckles and hair pop out. It almost looks like someone cleaned the photo.
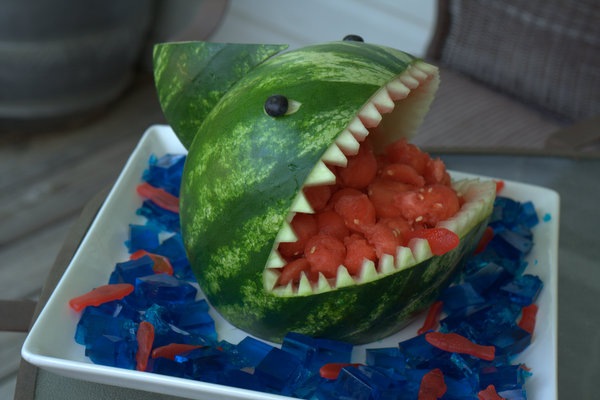
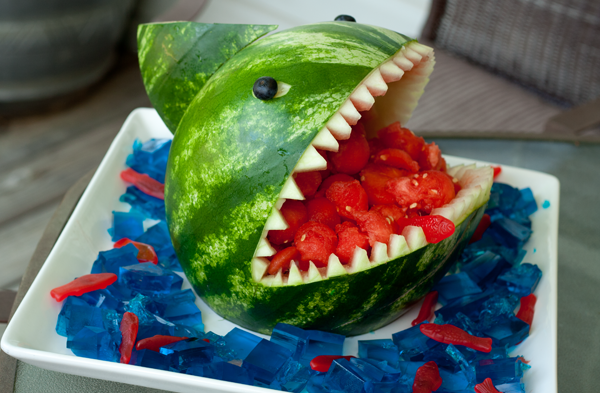
Here’s one of a watermelon we did for the girls’ end of school party:
You can see the color just pops. I feel like I could reach through and pick up one of those Swedish fish!
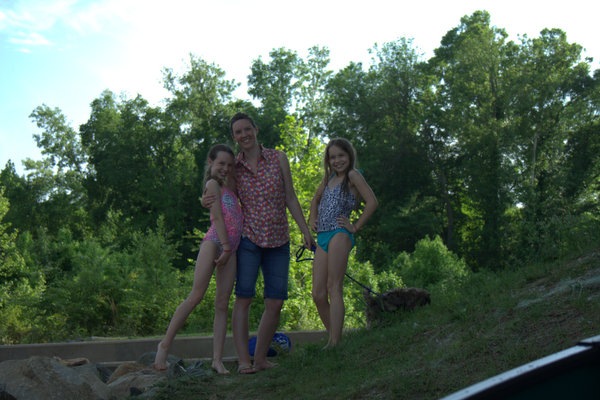
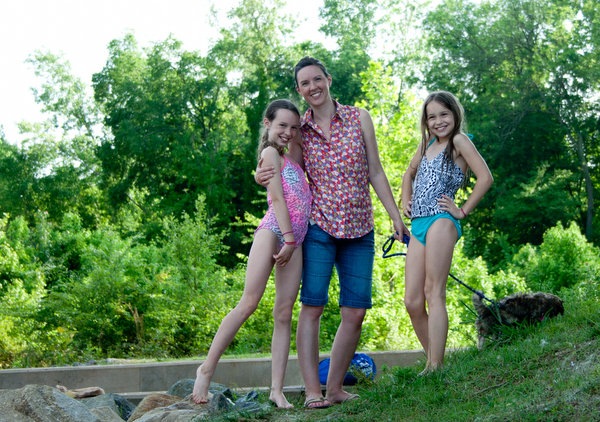
Here’s another of me and the girls at the river:
It almost doesn’t look like it’s the same day! I was able to crop out the boat where Scott was sitting and really concentrate on the people. The trees and bushes in the background look so much brighter and healthier!
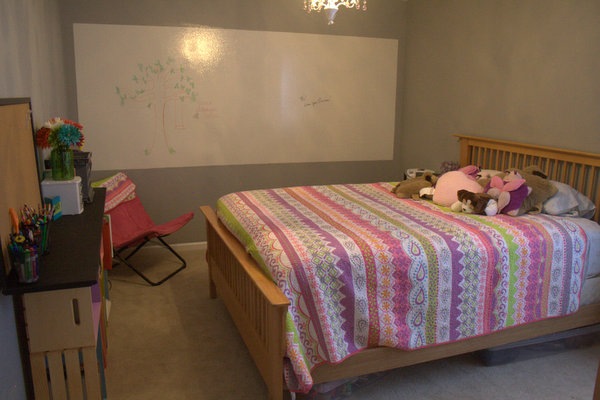
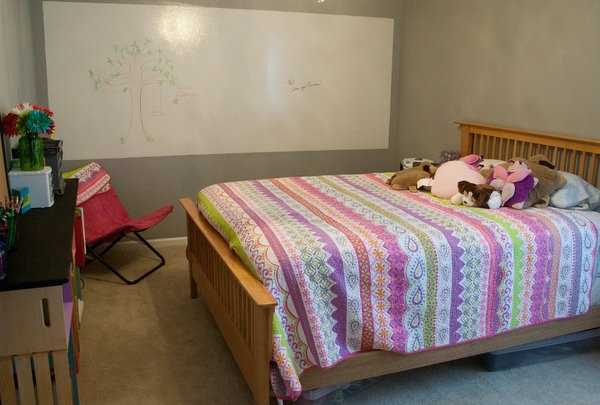
I’m also able to adjust the color to take out the awful yellowing I get in my house from the lighting:
In this one, the difference is subtle. The white board looks whiter and the wall color looks true to it’s actual color.
And finally, here’s a really funny one where cropping made all the difference:
Hm, can you imagine that Scott’s the photographer?!? And no, I had no idea Tucker was doing that! I think you can see a little bit of confused look on my face about why Scott was laughing!
Well, I hope you see the real point—the photos really go through a transformation from straight out of the camera.
And really, there are so many more bloggers and photographers that are sooo much better than I am at editing. Maybe one day I’ll learn to make some real “enhancements” if yaknowwhatImean.
I hope as you read your favorite blogs you keep that in mind. Things aren’t always picture perfect as they might be presented.
But, I know as a blogger, I want you to enjoy the time you take to read and part of that is it being aesthetically pleasing. Just as I try to fix my grammar mistakes, I try to fix my photography mistakes as well.
Also, I hope you’re inspired to take both Photography 101 and 102. It’s all online, all recorded and all accessible for the rest of your life. And I’m telling you—easy as pie to understand.
I really regret all the years I spent on automatic with a flash when the kids were little. I had my nice DSLR and didn’t use even a fraction of its power!
ShootFlyShoot also just launched a new class called Room Makeover where Layla teaches you how to do those virtual room designs in Photoshop. I’m so excited to take it soon! Again, not sponsored here—I’m just really excited about it!
Let me know if you’ve taken them, or any others and what you thought! Do you have another resource to improve your photography skills? Share them in the comments!
That photo of Tucker cracked me up! I’m amazed Scott was even able to take the picture after seeing that!

I want to get around to taking the Shoot Fly Shoot classes one of these days. Just gotta find the time
Stacey recently posted…10 Things To Smile About This Month: August
Oh, he had no problem…just kept clicking away!!
Linking over from Walking in Grace and Beauty… so happy to have found your blog! I too have been working on learning to take photographs only to realize…. I need to learn how to edit them! Definitely gonna check out the two links of classes you shared. Your photos all look great!!! PS ~ I also have a Tucker (yellow Lab)… That photo made me laugh.
Kim | Just For Clicks recently posted…Book Club and Shauna Niequist’s Blueberry Crisp
Hi, Kim! So glad you found me. I really hope you enjoy the classes. I think they’re great fun!
Is your lab crazy like mine? LOL
<3
Love that you're shooting in RAW format and love the edits you made. There used to be a joke around the newspaper I worked for that RAW = Really Awful Workflow. That always made me cringe because, as you see, having the ability to make small tweaks to photos can lend to outstanding results. You have an eye for what looks good, which is half the battle

Melissa recently posted…Good one, Bible Belt
Yes, as I was watching the videos, half of what I was learning was what good photography was supposed to look like. I remember Jeff talking about shooting in RAW at your house one time and it going over my head. I knew it was good but I’m just now figuring out why! Thanks!