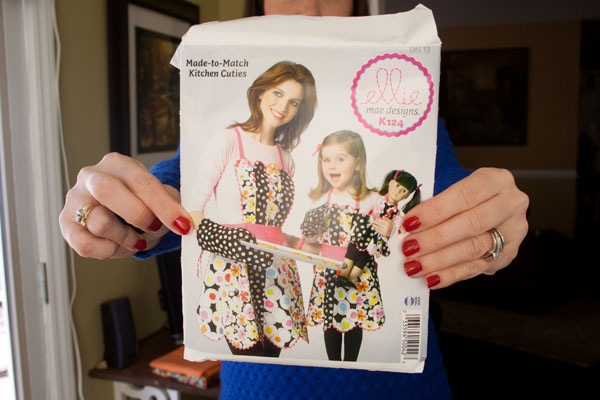
I cannot stress how much I’ve learned that sewing an apron has very little to do with actually sewing the thing together. Sewing is about measuring, cutting, pinning and planning. If you can get those things right, you are 85% there.
Unfortunately, I often did not get those things right.
The Cutting
As mentioned at the end of my last post, my next steps were cutting the pattern and then cutting the fabric.
I really wish I would have gotten more pictures of this step because I had a few mistakes worth sharing.
The very first thing I learned is what the selvage was on the fabric. Related to the selvage, is the grain of the fabric. Yes, this is how very little I knew.
The selvage is the edges of the fabric. You know, that little white line of fabric on the edge? The grain of the fabric travels in the same direction.
So, the pattern instructions base everything off of those two ideas. They tell you how to lay it out, whether it needs to be on the right side of the fabric, on the wrong and whether the pattern itself should be on the right or wrong side.
This was my first mistake. I paid attention to the fabric side, but not the pattern direction so I ended up cutting 4 pieces of pattern incorrectly and had to re-cut them. Thankfully, I had enough fabric left over.
My other mistake was to not take the notches seriously enough. The pattern gives you places to notch out triangles so you can later line up pieces of fabric. When I was cutting, I was like “eh, missed that one.” How much I wish I would have paid better attention. I got by but not without a lot of re-placing the pattern on top of the fabric.
And here’s the final thing I did not do I wish I did: write the number of the pattern piece on the back of the fabric. This also would have helped tremendously.
The Sewing
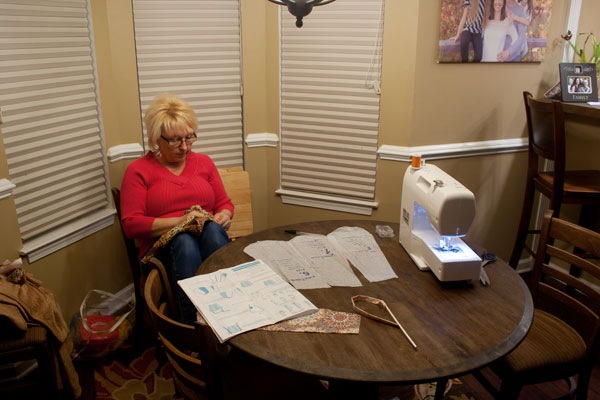
Finally, the fabric was all cut correctly cut and it was finally—finally—time to sew.
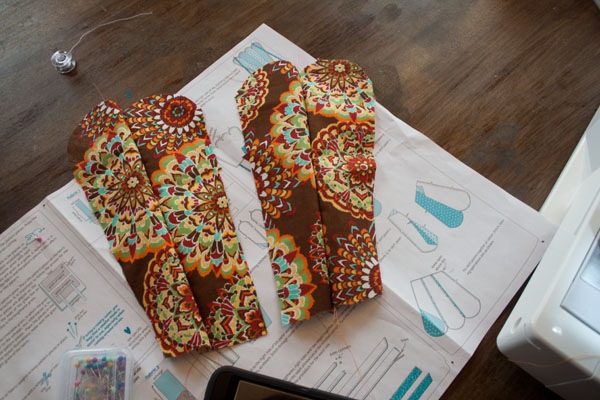
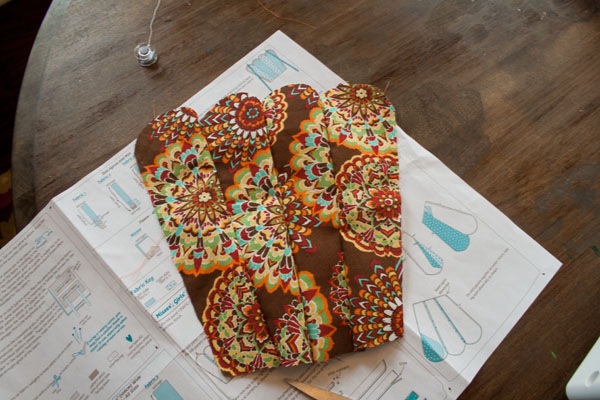
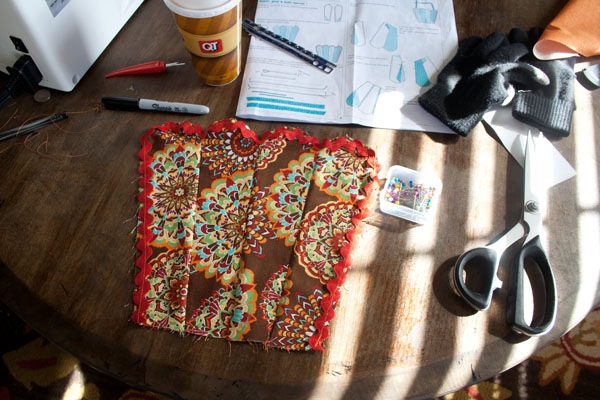
The first step of the apron was to stitch the panels of the apron bib together.
It was 4 simple, short, straight lines but let me tell you, I felt like I’d just climbed Mt. Everest. By this point, I’d spent at least 2 or 3 hours cutting and re-cutting. The very first seam felt like the precipice after a long hike.
I had oh so much more to go, though.
Next was similarly stitching the panels of the skirt together and I was oh so proud until I realized that I’d entirely stitched them in the wrong order. My skirt was well, a little catawampus at the top and not the pretty v-shape it was supposed to be.
My machine jammed up right about that time so Mom came to the rescue.
She removed two of the panels and reordered them the right way. And I learned my next lesson: you have to eyeball how all the pieces are fitting together as you go.
Not only did she realize at this point that I’d stitched them in the wrong order, I had too much allowance for the seam. I had sewn it with 5/8” seam instead of 1/4”. The liner of the skirt wasn’t fitting because it was now too big. I had to rip the seams out of the entire skirt and sew them again. Next lesson: learn well your machine.
All of this took me well into the evening. I truly think I worked on it over 6 hours through the afternoon and evening.
The next day, I tackled the hardest parts.
I had to pin and the sew the ric rac.
Remind me never to buy a pattern which requires ric rac. It’s cute, but not fun to sew on with lots of curves.
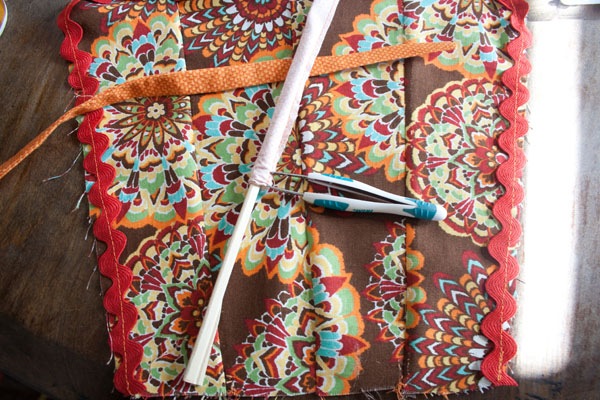
The next hurdle was getting the straps turned inside out.
These were tiny neck straps that were sewn inside out (as you do) but they had to get right side out. Mom’s trick was to use a chop stick at the closed end and then pull the fabric on top of itself. I ended up having to use tweezers to grab the tight fabric. Unfortunately, I popped a few seams and had to go back at the end and hand stitch those holes back together.
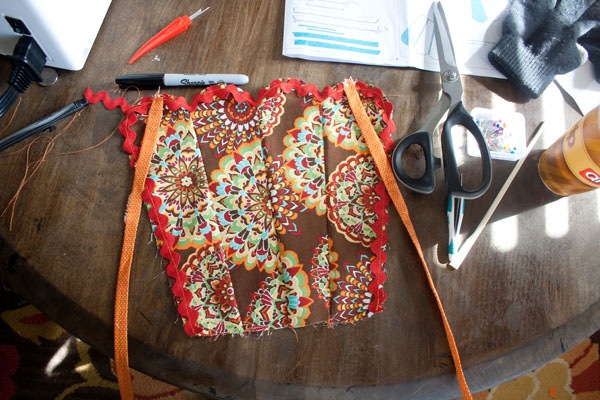
After who knows how long, the straps finally were stitched on and things started moving faster.
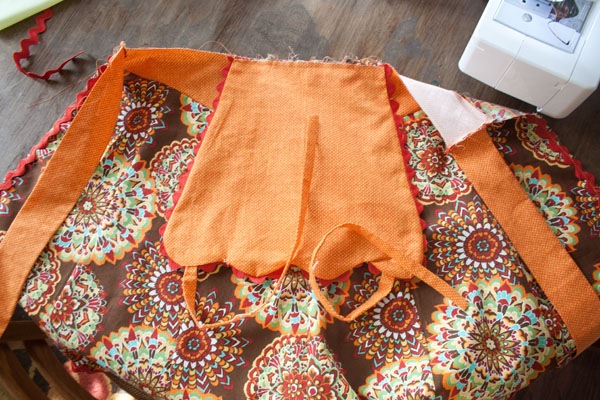
The liner to the bib was sewn on and then the bib was stitched to the skirt.
The skirt was very similar to this: ric rac, straps and then liner.
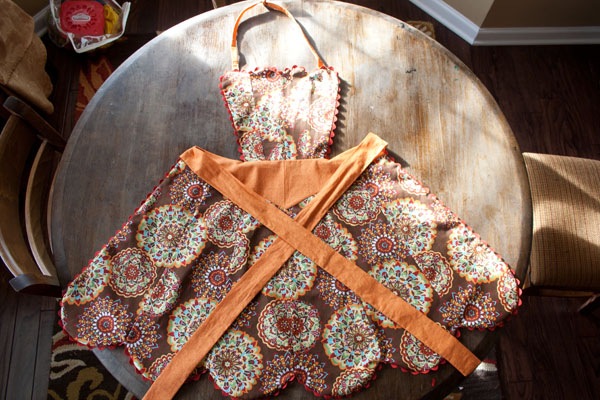
During this process, I forgot to leave a hole for the apron to be turned inside out. I had to go back and take out enough stitches for that. Once I turned it inside out, finally, FINALLY.
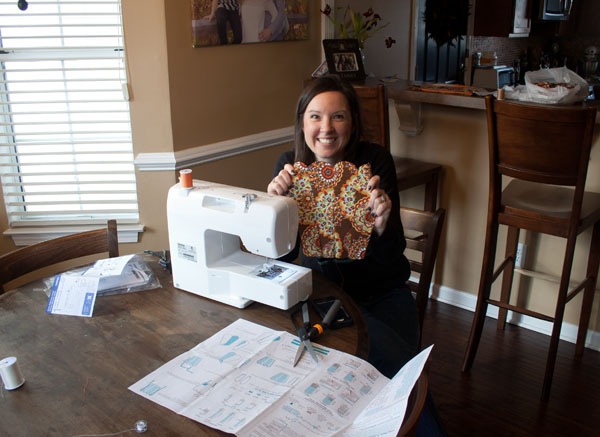
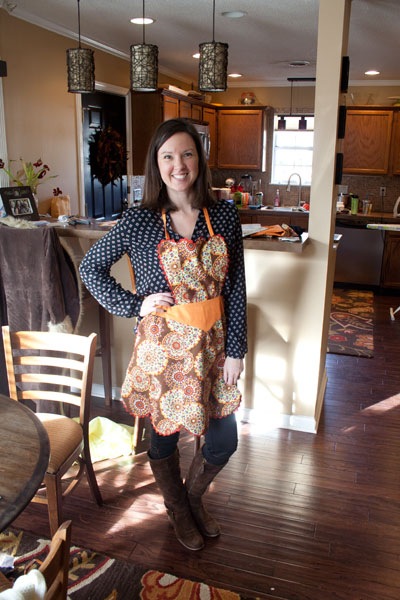
An apron:
I was so happy I had actually done it.
Yes, there were holes and panels weren’t laying perfectly at spots and seams were showing that probably shouldn’t have been, but it actually looked like an apron.
I can’t quite remember a time I’ve felt so accomplished.
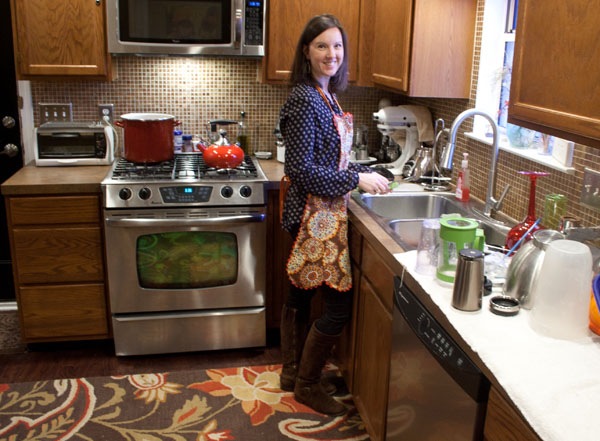
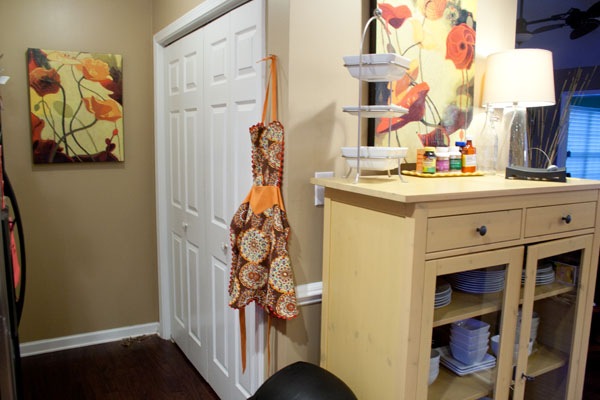
In all honesty, I’m not sure how much I’ll actually wear it. I had Scott put a nail up so I could hang it in the kitchen. It fits right in and I love walking by and remembering the process.
A few takeaways:
- I love sewing. Even though little of it is actually sewing, I really enjoyed the whole process.
- More than just sewing, I really enjoyed learning to sew. It was so much fun to learn something new that wasn’t from a book. It was great to get my hands dirty, so to speak, and actually have something to show for it in the end.
- Mistakes were critical to the learning process. I made a ton of them, but that just means I learned a ton too.
- If you really actually need an apron, just go buy one. I spent $40 just in the pattern and fabric and I’d guess I spent somewhere around 15 hours start to finish. Certainly, it can be done in a fraction of that time.
- Sewing is less about the end product and more about the experience. I found that just as I enjoy sitting down to read a book–that it is the process of reading, not the finished book–I enjoyed the process of sewing most.
- Having help is fun. Part of me wants to figure out new things on my own, but having my friend JoAnn and my mom’s help was fun. I got to watch them tap into a passion of theirs and share it. We should all do that more often.
While I can’t recommend sewing for everyone, I do recommend you finally do that thing that’s always seemed interesting, but you’ve never taken the time to learn. You may find it doesn’t live up to your expectations, but on the other hand, you might just find yourself having fun.
As I told you, you did an absolute awesome job. That by far was not a beginner’s project and you aced it! I told mom (grandma) about the pattern and the ric rac and she was really impressed too. She knows as well the level of difficulty that was. We had a laugh over the cheap seam ripper and how much quality scissors, notions make. The mistakes you made were priceless because now you have a better understanding for the next time.
Great work! Mom
Oh yes, I didn’t mention the scissors and seam ripper. Definitely makes a difference.
Thanks again for your help!
Gah — this… ALL OF IT! is why I hate sewing. I’ll take knitting anytime over all that crazypants stuff.
Sarah @ Beauty School Dropout recently posted…Sam at 6 months
Ha! I’ve never tried knitting but I did learn crocheting. I couldn’t get into for some reason. I guess we all have our thing!
Sewing is fun. My first project was a dress and it was wonderful, my second project didn’t get finished and I then put on weight (which in my case was FANTASTIC) so I gave it to my sister to finish (because she was still trying to put on weight).
Jenn (Student Mom) recently posted…WLW – Chapter 4 and 5
Emma was just asking yesterday about making a dress. What style did you make?
I hate the cutting process. Seriously HATE it. If everything were cut out for me, I would sew all day long. GREAT job!
Heather {Desperately Seeking Sanity} recently posted…Second Generation Grammar Police
Thanks, Heather! Cutting isn’t great fun but I don’t mind it either. I agree though…the actual sewing is the best part! I’m hoping to pick up one of those project you linked to last time and use some extra fabric I have left.
Wow it turned out awesome! Plus you look quite adorable in it!

Jodi recently posted…What I Wore Wednesday
Thank you! I almost put it in my WIWW post