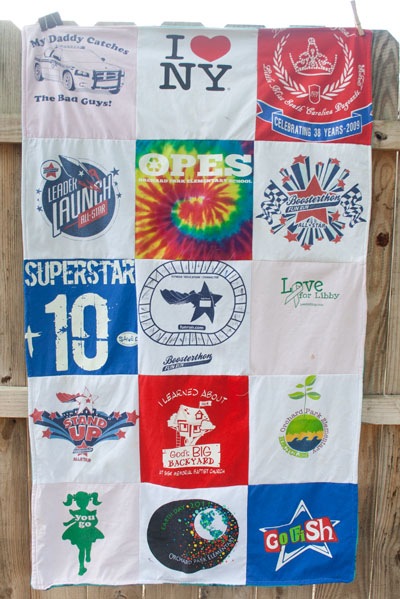
T-shirt quilts are certainly nothing new. I think my mom still has all my T-shirts where she planned to make me one in high school *cough* over 18 years ago *cough*.
So I was cleaning out the kids clothes when we switched over the season recently and I nearly donated all of their T-shirts. I remembered T-shirt quilts, though, and since I actually finished my first sewing project a few months ago, I felt like maybe I could tackle it.
And for those that follow my Facebook page (and the post title didn’t already spoil it for you J), you saw that I did indeed finish it!
And listen, this was WAYYYY easier than that apron. I wish I would have started with this. If you can sew a straight line, then you’ll have no problem.
The first thing you have to do is buy your supplies. You’ll need:
- T-shirts cut into 12” squares. I used 15 squares, but used some backs of T-shirts so it was really only about 13 actual shirts. You can also use “filler” pieces of other plain cotton if you’d like.
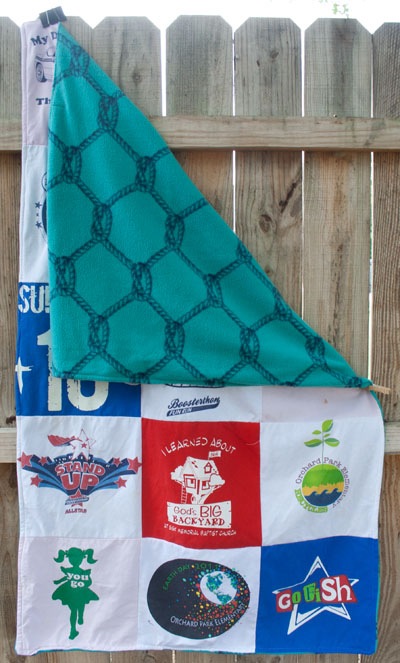
- 2 yards of fleece fabric for the back. Ideally you want to pick one that pulls out the colors in your shirts, but of course Emma just went with one she liked.
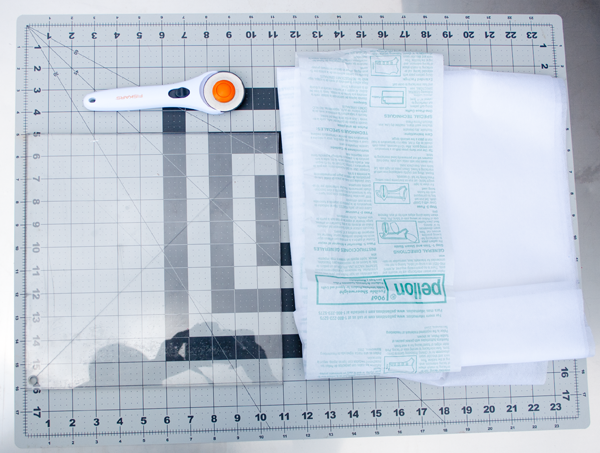
- Fusible interfacing. It depends how many squares you’re going to use to how much you need, but we planned for 2 squares per yard, but ended up not needing the full 8 yards. If you were careful you could get away with 3 per yard and only need 5 yards. This is exactly what we used, although I think we could have used something heavier.
- Since I’m just a beginner, I also bought a kit with a cutting board and a rotary knife. Here is a similar one.
- Ball point needle for your machine. I found mine at Target, but here is a similar pack.
- And finally, Scott cut a 12” square out of plastic for me to use as a template for all the squares. I felt like the clear was necessary so I could align the image within the square better. You can see it on the left side of this picture below.
I followed this video for the sewing instructions.
The basic steps are to:
- Cut the T-shirts in squares using the template and the rotary scissors
- Fuse the lining to the back with an iron
- Cut the lining around the fabric using the template again. Now that I think of it, you could probably cut the T-shirt and lining together.
- Arrange the T-shirt in the rows and columns you want.
- Sew the squares front to front in a row
- Sew the rows of fabric front to front to each other
- Pin and cut the back fabric the size of the front
- Sew the front and back front to front, leaving a gap to turn the blanket inside out
- Turn the blanket inside out
- Stitch up the opening
- Sew the edging
- Optionally, sew a top stitch between the squares or use yarn at each intersection and tie it. Emma didn’t want me to do either of those
Whew, so that is a lot of steps, but none of it is hard. As I’m learning with sewing, it’s a lot of prep work and a lot of patience and just a little bit of sewing.
But, as I’m also learning, the satisfaction you get from sewing your own project is priceless!
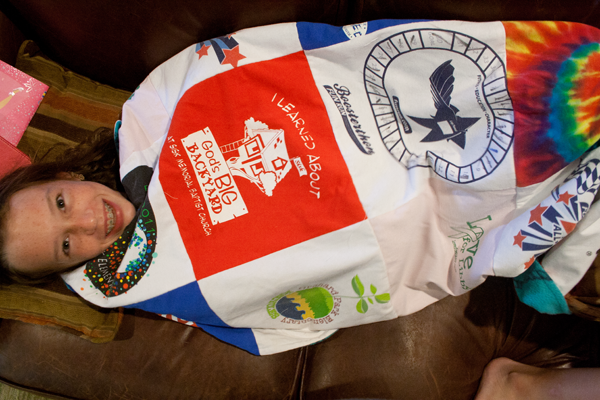
I loved seeing Emma wake up using the blanket. It’s fun to see her “wearing” all of her old T-shirts.
Although, she did say she needed one more row and column of squares for it to really fit her. This size is more like a toddler quilt than a tween quilt.
If you’ve made lots of quilts, I’d love to hear your tips!
Do you have a T-shirt quilt? What would your quilt have on it? Racing shirts? Pageant shirts? Baseball shirts? Cheer shirts? Tell me!
I’m not sure which T-shirts my mom kept but it probably includes volleyball, Show Choir and youth group!


My MIL made me a quilt a few years ago with a bunch of my old t-shirts and sweatshirts from high school and college and some mission trips I’d been on since then. It’s nice to still have those shirts with me without them overfilling my drawers!
Vanderbilt Wife recently posted…Get Real: Marriage, Nearly 10 Years In
Oh, I think it’d be nice to have one made out of all sweatshirts. So nice that she made you a quilt!